Finger Foods

As much as it may be frowned upon, I love snacking and finger foods. I enjoy the meticulous nature of arranging bite-sized pieces, but also putting together a big bowl of something I know people will come together around, sharing stories, experiences, and their love of  good food. And while most chefs broke out their favorite snacks for the SuperBowl, my sporting event of choice is the Olympics, particularly the winter Olympics. Something about the combination of speed, skill, and snow, plus national pride, makes me want to make something special to celebrate!

These very different recipes can bring together even the most diverse people over your amazing (meat-free) kitchen skills, but won’t also keep you in the kitchen all day. Make them for a crowd of friends or share with someone special on the couch – you’ll be a game day hero!

soft pretzels surrounding a pool of cheese- what could be better?

soft pretzels surrounding a pool of cheese- what could be better?

Soft Pretzels with homemade cheese sauce

-1.5 cups warm water
-1 TBSP sugar
-2 tsp salt
-1 package dry yeast
-4.5 cups all purpose flour
-2 oz unsalted butter, melted
-vegetable oil or oil spray
-10 cups water
-2/3 cups baking soda
-1 large egg yolk, beaten together with 1 TBSP water
-2 TBSP large-grain salt, such as Kosher salt or sea salt (not table salt)

Set oven to warm setting, or if not available, the lowest possible temperature setting. Combine water, sugar, and salt in a stand mixer fitted with a dough hook and sprinkle yeast on top. Let the mixture sit for 5 minutes until the mixture foams and starts to smell ‘yeasty’. Turn mixer on and slowly add flour and butter, mixing on low until the dough is combined. Increase speed to medium then mix 4-5 minutes until dough forms a ball and pulls away from the bowl.

Transfer dough to a large oiled bowl and cover with plastic wrap. Place in the warm oven and let it sit for 50 minutes–it should double or triple in size. While the dough is rising, heat 10 cups of water and the baking soda in a large stock pot until boiling. Remove dough from oven and increase oven temperature to 450 degrees.

Pull off a piece of dough about half the size of an adult fist and roll into a long snake. With the dough horizontally in front of you, pull the ends away from you, making a U-shape. Bring the ends back down to the bottom of the U, crossing them into an X to make a pretzel shape. Continue to make pretzels until the water is boiling rapidly, or make all at once and turn on the water to boil once you get to the end of the pretzel forming.

Drop the pretzels into the boiling water one at a time for 30 seconds. After 30 seconds, gently remove them from the water (a slotted spoon or spider work well) and put them on a cooling rack to drain. You should have enough time to roll and form each pretzel while the prior one is cooking. When all of the pretzels are formed and boiled, set them on a greased cookie sheet (allow some space in between each, but they won’t rise much) and brush with the egg yolk mixture, sprinkling with salt. Bake for 12-14 minutes until the pretzels develop a crust.

Cheese Sauce
-2 TBSP butter
-2 TBSP flour
-1/2 cup milk (we used Almond Milk, which works just as well as dairy milk)
-1 cup of cheese, preferably mostly cheddar (we added some Gruyere in too)
-pinch of cayenne
-1 tsp of dried mustard

Make a roux by melting the butter on medium-low heat in a small pot and whisking in the flour, allowing to brown slightly (this will get rid of the raw flour taste).  Add in the milk, whisking to combine with the roux– the milk creates the volume of the sauce, so feel free to adjust depending on how much sauce you want. Add the cayenne and mustard, stirring to incorporate in. Slowly add in the cheese in about 3-4 installments, incorporating it fully into the warmed milk before adding in the next bit of cheese.

These are better than any soft pretzel I’ve ever gotten in a bar or arena and since you know exactly what goes into them, I promise they’ll even be better! They’re a fun, interactive project to do as a date or with friends but also easy enough to do alone. No one will miss the buffalo wings, chicken fingers, or ribs when these are on the table, and they freeze well so you can break them out anytime you’re in need of a snack. If there’s any cheese left (it’s SOOOOOO good) store it in an airtight container in the fridge for a week or so. We use leftover cheese on nachos, with black beans, and anywhere else you’d otherwise buy one of those pre-made cheese dips in a jar.

tangy, sweet, and creamy-- the best combination for a healthy finger food

tangy, sweet, and creamy– the best combination for a healthy finger food

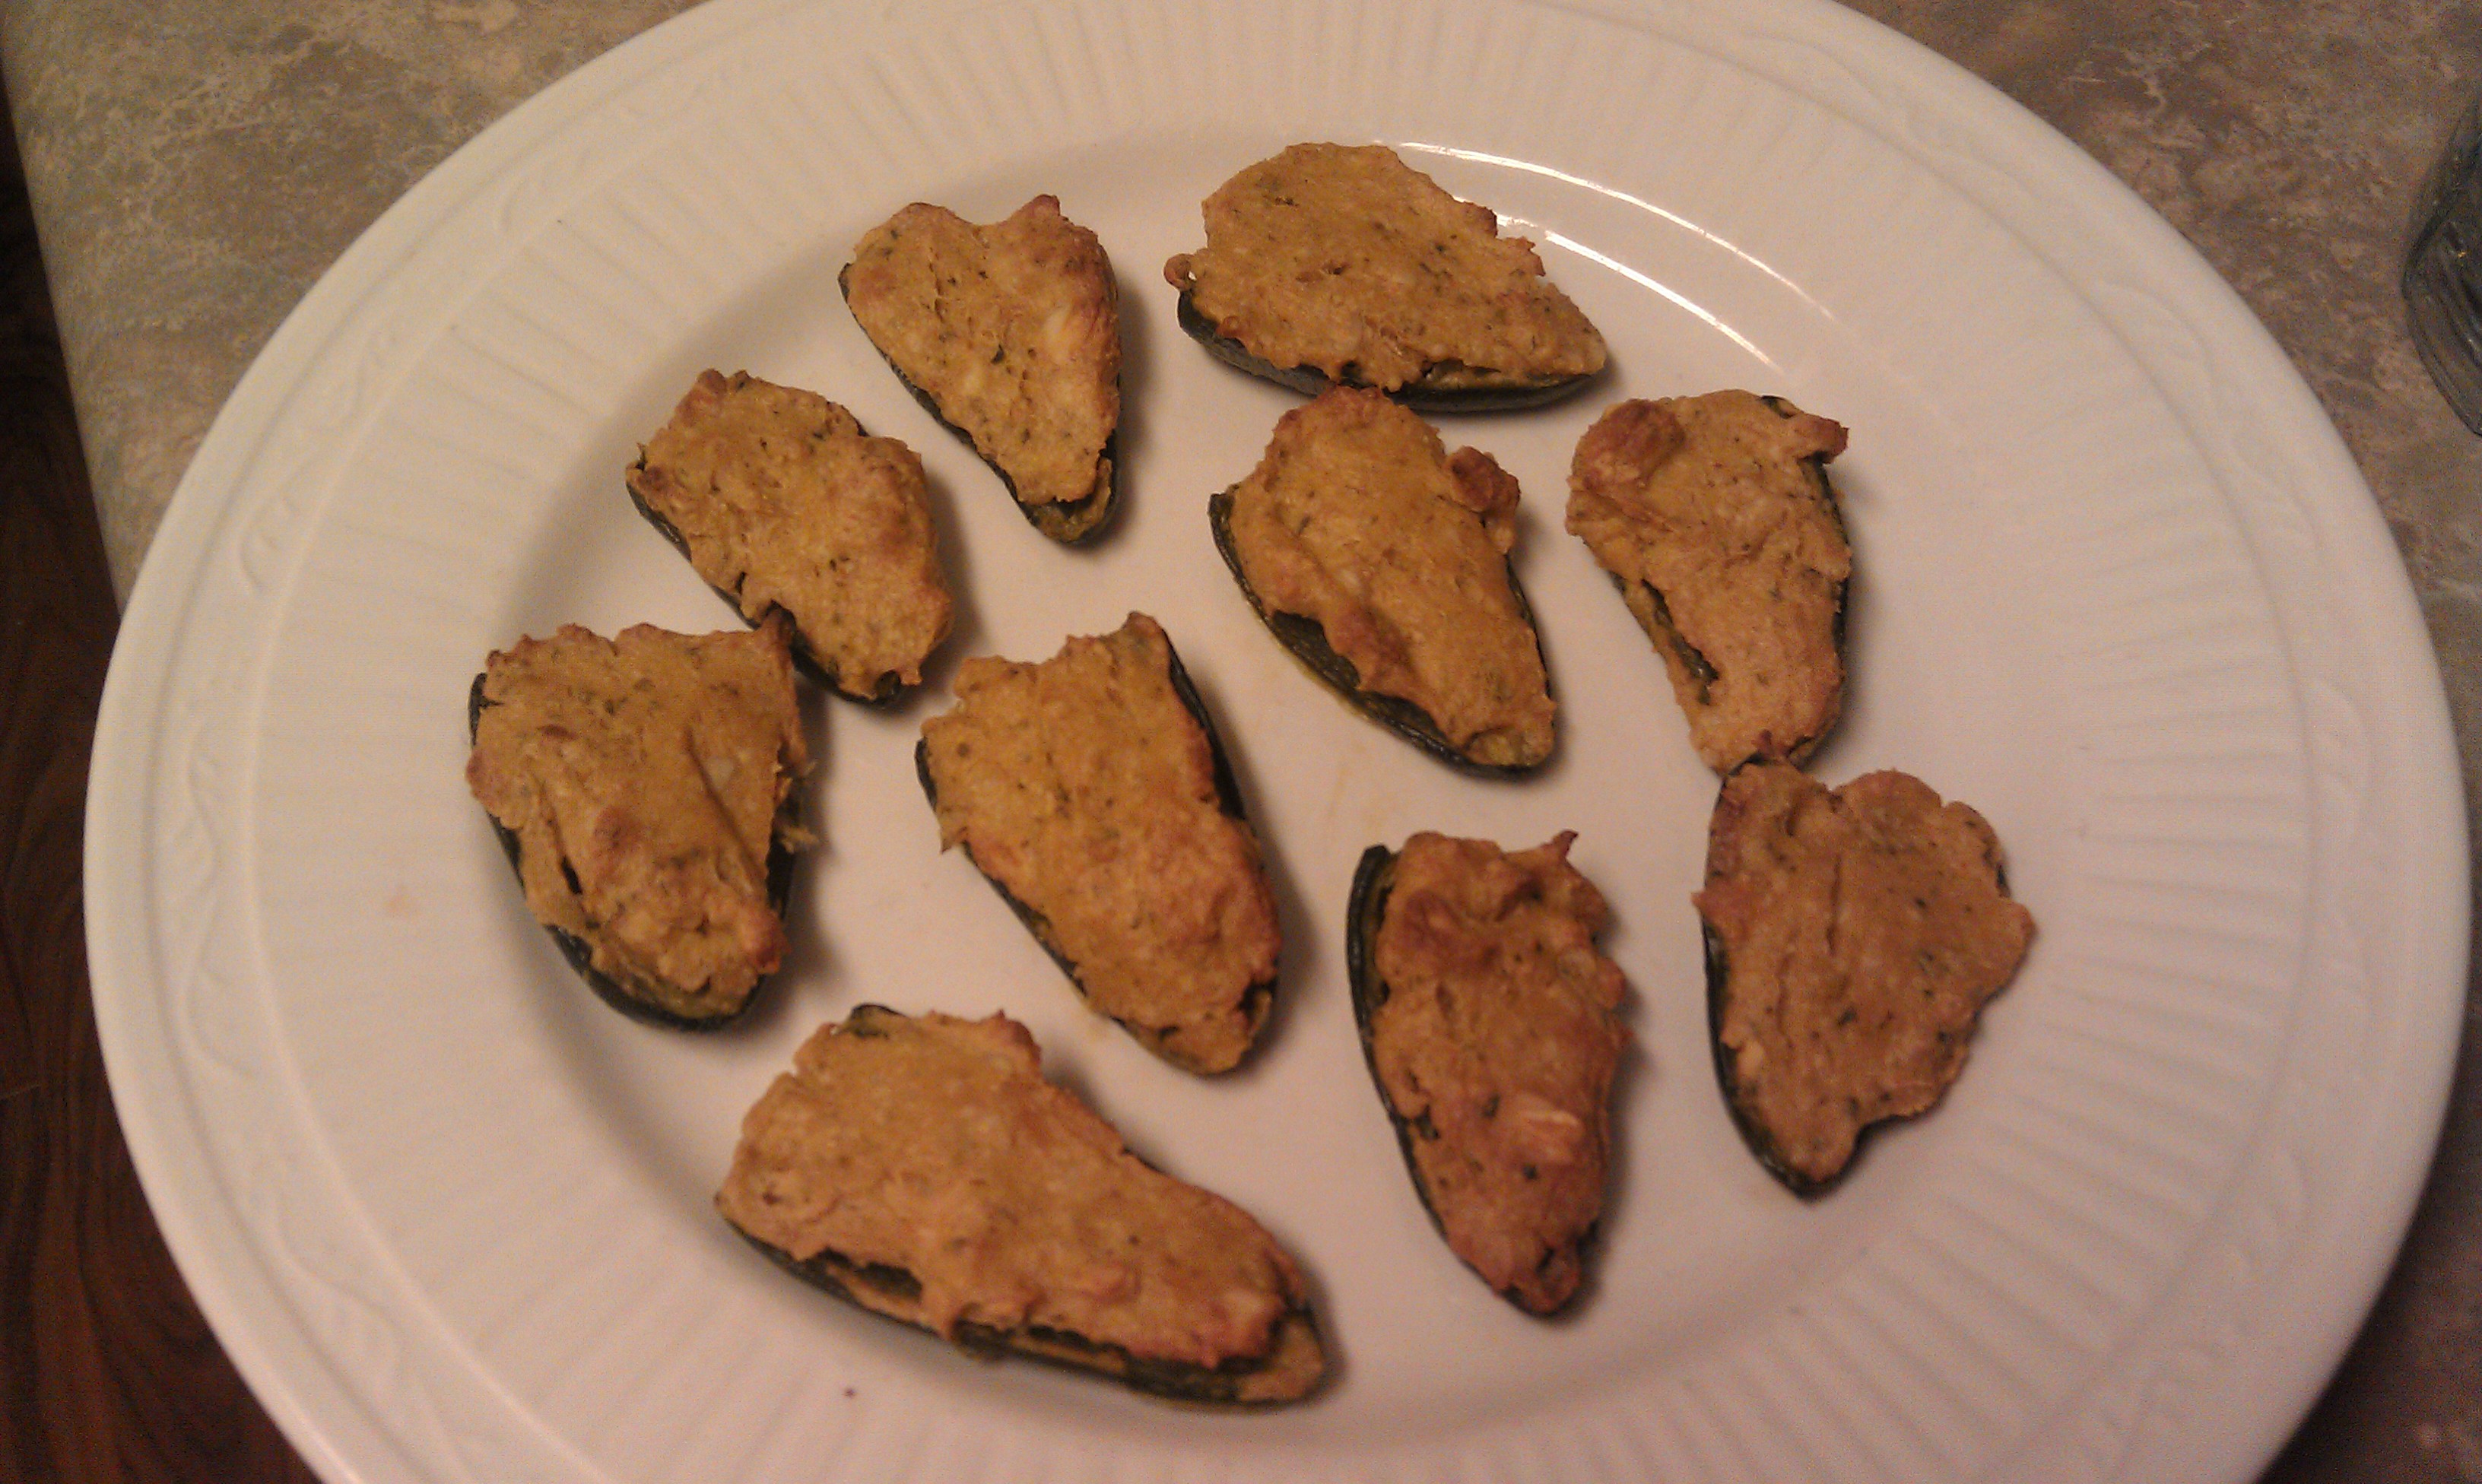
Marinated Mushrooms with Herbed Goat Cheese
-6 to 10 baby portobello mushrooms per person, cleaned and de-stemmed
-balsalmic vinegar
-Worchestershire sauce
-minced garlic
-2 oz goat cheese per person
-zest of 1 lemon
-minced parsley
-slices of your favorite baguette

Mix together a 50:50 ratio of balsalmic vinegar and Worchestershire sauce, then add in minced garlic and salt/pepper to taste. Pour over the mushrooms and marinate for at least 30-40 minutes, tossing periodically. Meanwhile, mix together the goat cheese with lemon zest and parsley and set aside-season with salt and pepper if desired.

When the mushrooms are soft and are easily punctured with a fork, remove from the oven and let cool. Serve with crustini and goat cheese– either spread the cheese on the bread and top with mushrooms and the residual sauce, or pipe goat cheese into the center of the mushrooms and sop up the leftover sauce with the bread. Either way, it’s a fun activity that’ll have you eating with your fingers, enjoying a great meal, and thinking of mushrooms in a whole new way.

Whoever said finger food has to be greasy, fried, and messy clearly hasn’t eaten in our house! Whether it’s a quiet dinner for two mid-week or a night with friends to watch your favorite Olympic event, these snacks are sure to please and will have you out of the kitchen before the food is gone!

Basil Spring Rolls

With a new year comes resolutions, and this year mine is one I know we are ALL going to enjoy. In 2014, I want to try new recipes that aren’t just freehanding whatever is in the house–I want to purposefully shop for specific ingredients needed for a specific fun, challenging, or innovative recipe. Of course, I’m sure we’ll modify things along the way, but I want to add more dishes to our repertoire – the perfect place to start are the recipes we got as a part of our wedding RSVPs. We’re specifically looking forward to a great shakshuka recipe, my aunt’s mujadara, and some new soups!

But for now, we started off 2014 with a familiar dish and one of our personal favorites. We met up with close friends for New Years Eve and given their small kitchen in their rental beach house, wanted to prepare something that didn’t need any last minute touches once we got to the party. These rolls are healthy, veggie-friendly, and light, but also filling and super tasty. Just like pancakes, the first few are a learning experience, but once you get the technique down they’re easy to assemble and fun to make- you’ll be the hit of your next party with these!

Look how pretty--why pay $6 at a Thai restaurant for these when you could make dozens at home!?

Look how pretty–why pay $6 at a Thai restaurant for 2 of these when you could make dozens at home!?

Basil Spring Rolls with Peanut Hoisin Sauce

-1 package of rice paper (approximately 9′ circles, in the Asian aisle at the grocery store, either Vietnamese or Thai, doesn’t matter) –should be dried/soaked in water before  using. We like 3 Ladies brand or one with a green dragon
-1 package thin bean curd noodles or rice vermicelli (angel-hair thickness)-cook according to the package (usually just soak in water and drain). Let them cool down before handling
-3 carrots, shredded. (Put together a bowl of Mirin and rice wine vinegar at a ratio of 3:1, then soak shredded carrots at least 30 minutes or until ready to assemble rolls) *see photo below*
-1/2 inch thick strips of tofu- marinated in your choice of seasoning. Sear all pieces and set aside. *see photo below*
-lettuce or Napa cabbage, cut into thin strips
-bean sprouts
-fresh basil (preferably Thai basil but Italian works well)
-1 bunch scallions, with the green part cut into 2-3 inch pieces. Save the remainder for the sauce below
For the dipping sauce (put in separate bowl for serving)
-peanut butter
-mirin
-hoisin
-rice wine vinegar
-sesame seeds
-thinly chopped scallions
-soy sauce
(taste-test until you get something creamy, a little sweet, and a little tangy-see photo below for our sauce)
To assemble the rolls:
Chop all of your vegetables and lay them out in separate bowls so they’re easily accessible. Be prepared to work in a circle–your warm water on one side and veggies on the other, with the dish towel in the center. This goes somewhat quickly, so have everything ready for assembly before you start.
Fill a large tupperware container (or bowl,  something with a flat bottom works best) with very warm water, but not boiling. Lay a clean, dry cloth dish towel on the counter.
Put 1 sheet of rice paper in the water to soak for about 30 seconds to a minute. When it’s flimsy and transparent, gently take it out and lay it flat on the towel. Smooth out any places where it’s folded over itself so it’s a flat circle. Bring the corners of the towel over top of the rice paper and blot off the excess water. Move somewhat quickly and be gentle–you won’t want to push it into the towel because it’ll make a mess. The rice paper should be a little sticky to the touch. The next step should happen pretty quickly before the rice paper dries ON the towel.
When the rice circle is flat and dry, put the toppings of your choice in the center of the circle. For a circle 7-9″ wide, you want about 3″ worth of fillings and to pile it about an inch high. There isn’t a science to it, but I start with a piece of basil (so that it shows through when you wrap it), then noodles, followed by carrots (the carrot marinade drips onto noodles and seasons them a bit) and then put 1-2 pieces of scallions, then cabbage/lettuce, then tofu and bean sprouts.
Fold the top of the rice paper circle (12o’clock) over top of the filling and kind of UNDER the filling. With one hand slightly pushing down on the filling, fold one side  (3 o’clock or 9 o’clock) over top of the filling, then do the opposite side. The only ‘loose’ paper should be at the bottom of the circle. Take the ‘roll’ and roll it towards you, being gentle but firm to push out the air and roll it tightly. The stickyness of the rice paper (after being soaked in the water) should make it attach to itself and have the whole thing stick together. This will look a lot like wrapping a burrito. The first few may give you difficulty as you determine how quickly you need to work and how to best hold your hands in relation to the roll to keep things together.
Set aside all rolls- they keep well in the fridge for a day or two, so feel free to make them in advance. I HIGHLY recommend wrapping them individually in plastic wrap or parchment paper to keep them from sticking to each other, because if the papers stick together they’ll rip. Dip in the sauce and enjoy the compliments!
These could easily be made with seared shrimp if you’re not veggie, but they’re just as good as they are (ironically vegan!) We were the only vegetarians in the group of 15 and they were gone in minutes–no one even mentioned the tofu! They have all of the flavors of a restaurant spring roll, but since you control what goes in them they’re healthier, cheaper, and far more satisfying! Give it a try and see what you think- could this be your ‘new recipe’ for 2014 that makes you the hit of every party?

Shredded carrots marinated in Mirin and rice wine vinegar give these an extra pop of flavor!

Shredded carrots marinated in Mirin and rice wine vinegar give these an extra pop of flavor!

<3 Officially Vegetarian for Two–Vegged Bliss <3

Soon after D and I got engaged, we set having a vegetarian wedding as one of our top priorities. Despite the many variations of our wedding that emerged in the 9 months between engagement and our wedding (I think we are ALL glad that my ‘paper plates and plastic glasses’ phases was short lived), our insistence on vegetarian food never wavered. When we found a local non-veggie restaurant with a vegan chef, we immediately headed over for dinner with my mom and D’s dad and step-mom to check out their menu, and were treated to a mini-impromptu tasting right there in the middle of our dinner! D and I looked at one another and said “this is it!”

The most rewarding thing about our vegetarian wedding, other than it was true to us as a couple, was how many people came up to us at the reception (and afterwards) and honestly said “if more food was like this, I would eat vegetarian every day!” We were so proud to be able to offer our guests- family, friends, and loved ones- this unique opportunity and only regret that it’s not done justice in photos!

On that note, here’s a walk through our wedding menu. Thanks to Jennifer Bearden Photography for the appetizer photos! (I apologize for the later pictures, they’re from our tasting and we were too excited to eat to take quality photos!) and to Mosiac Edibles and Luke Wilson for making our wedding absolutely fantastic!

Stationary Display of Appetizers

Vegan Spring Rolls
with cabbage, julienne carrots, zucchini and squash with a hoisin-peanut dipping sauce

1730

Brie in Mini Phyllo Cups
with strawberry-rhubarb jam

1715

Marinated Stuffed Mushrooms
balsamic marinated button mushrooms stuffed with herbed goat, feta, and cream cheese, then roasted

(sadly, these were our favorites but we didn’t capture any photos of them!)

Mini Spanakopita
greek pastry of spinach and cheese in layers of phyllo dough

1721

Cream of Cauliflower Soup
with grated Parmesan cheese and basil-chive oil

1772

Dinner Buffet

Butter Thyme Green Beans
with butter and fresh herbs

IMAG0876

Farro Medley
with spinach, artichokes, and red peppers

IMAG0877

Butternut Squash Mac & Cheese
oven roasted with cavatappi pasta, light gorgonzola cream sauce & a pretzel Parmesan crust

IMAG0878

Eggplant Rollatini
with feta, artichokes, & spinach with tomato cream sauce

IMAG0879

Fall Kale+Spinach Salad
with grilled bosc pears, goat cheese, toasted walnuts, cranberries, and topped with a balsamic vinaigrette

IMAG0880

Trio of:

Spinach & Sundried Tomato Quiche
with shaved Parmesan & local micro greens

Gruyere & Parmesan Quiche
with local micro greens

Roasted Broccoli Quiche
with aged cheddar & local micro greens

IMAG0881

Tis the Season…for Jalapenos

Admittedly, I’ve been a bit of a slacker in recording all of the yummy food that I’ve been lucky enough to create over the past few weeks. But last week’s recipe lit a fire under me, and it wasn’t just my attitude towards writing! Our little backyard garden has been suffering this year–the tomatoes never quite ripened (a problem that occurred across the Lowcountry due to too much rain and not enough sun), my basil grew faster than I could use it and got tough, and there’s a mysterious flowered vine trailing across the ENTIRE yard. However, my bare trees have been taken over by said vine, and it makes them look pretty and lush!

But neither heat, nor rain, nor clouds nor bugs could stop my jalapeno plant…the same jalapeno plant we kind of ignored after tasting the first few back in June and deeming them no hotter than a standard bell pepper. Well, those babies came back with a vengeance and when the plant started falling over with peppers, I did what anyone would do– I started handing them out to random strangers (and friends). Below is about 1/3 of what was ripe on the plant when I did a trimming session last week:

Jalapenos for everyone!

Jalapenos for everyone!

When my friends, coworkers, mailman, and office security officer had all of the jalapenos THEY could eat, I jumped online to find a way to use up all of these HOT peppers in one fell swoop. Seems I’m not the only one to have these problems!

I wanted to make jalapeno poppers, but didn’t want to stuff them entirely with cheese-I DO have a wedding dress to fit into in just 6 days! Tofu seemed like a perfect filling, and by adapting Awesome.Vegan.Rad’s recipe to my own needs, we were in business!

I followed her recipe pretty closely, but I DID press my tofu. I used a softer tofu than I do for stirfry and baking, which worked perfectly for us. I omitted the nutritional yeast because I wasn’t worried about staying vegan, but I did ADD some chive cream cheese that I had in the house; I was worried about the heat of the peppers and wanted some dairy to balance out the kick and spice. The cumin, lime, and paprika give this filling GREAT flavor, and I challenge you to use these with non-vegetarian friends and see if they even notice the tofu! The best part about this is that they cook for so long (35 minutes) that the peppers start to blister and soften and they loose a lot of the heat. I am the least spice-loving person I know, so I was a little wary of making a jalapeno-centric dish, but this is one we’ll save for seasons to come. The filling is easy to assemble, and while it takes a little while to seed and remove the membrane of the peppers, the prep work is worth it for a healthy, simple, and taste-filled jalapeno popper!

Creamy, nutty, a punch of lime juice, and the gentle heat of the peppers--YUMM

Creamy, nutty, a punch of lime juice, and the gentle heat of the peppers–YUMM

One of the best things about this dish was that there was so much filling left over that we started eating it as a spread. We dipped our hearts out– bell peppers, carrots, pita wedges– you name it! The tofu and cashews make it creamy, but it’s overall VERY healthy. Try it at your next party– either cold or warm. Your secret is safe with me 😉

We’ll be taking a little break over the next 2 weeks for our upcoming wedding, but promise a full blog post afterwards about making a vegetarian wedding satisfying, filling, and tasty for everyone–even your non-veggie friends!